One thing that is very important for any web application is reporting module. Pentaho Community Edition has powerful capabilities to make any reports and we can just use it as reporting module in our web application. Of course we don't want to open a new window to show Pentaho Report Viewer, it makes users feel that reporting is a different web application, outside our application. We want to embed Pentaho Report Viewer in our web application so that users can easily access report from just one window. I do this in my project as a CTO in
+Fordiso (a supply chain IT company based in Indonesia:
+MaxLogistix, a low cost cloud warehouse management system.
The most common trick is using iframe and passing username and password parameter.
For example: I created test.html
<html>
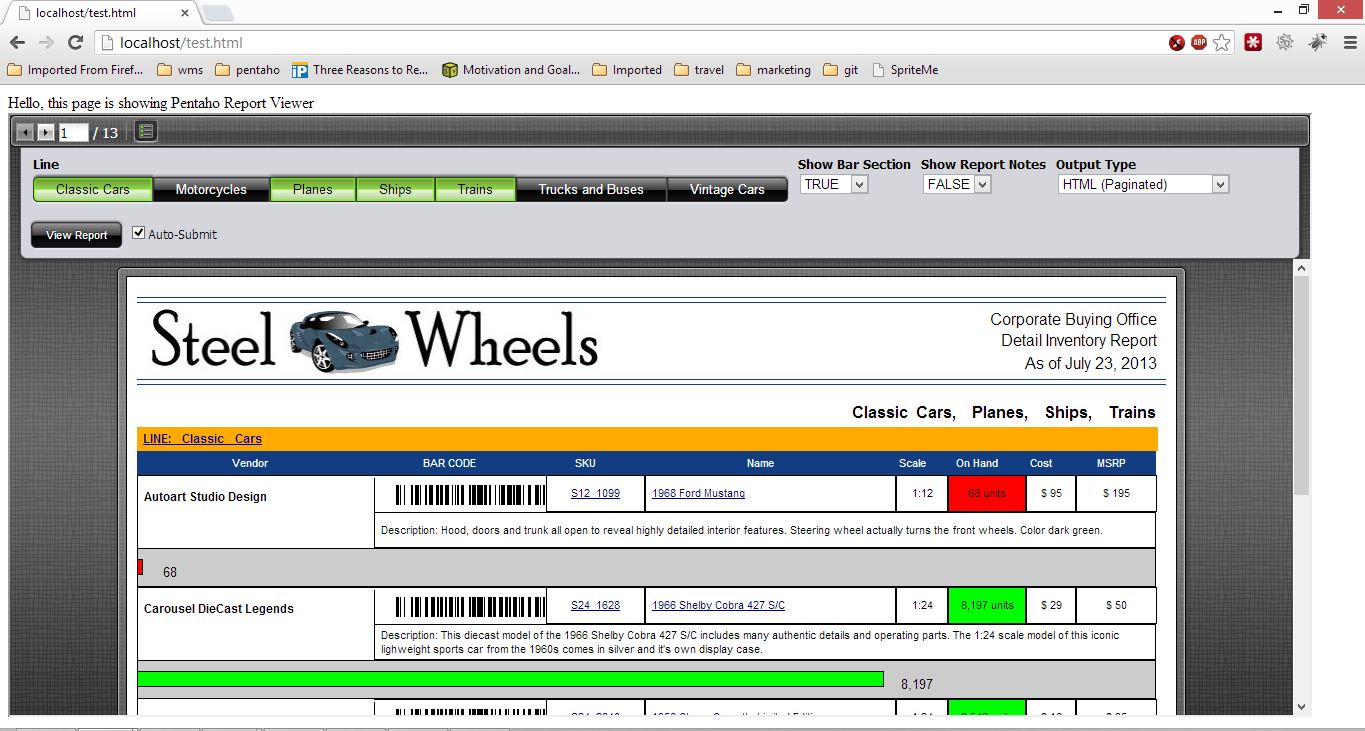
Hello, this page is showing Pentaho Report Viewer
<br/>
<iframe width="1300" height="600"
src="http://localhost:8080/pentaho/content/reporting/reportviewer/report.html?solution=steel-wheels&path=%2Freports&name=Inventory.prpt&userid=joe&password=password" />
</html>
And I tried to deploy test.html to localhost and open in Chrome, it works!
 |
| Pentaho Report Viewer in Chrome |
|
But the problem is... when I opened that same page in Firefox, it shown blank iframe and I have encountered error in Firebug:
Permission denied to access property 'mantle_initialized'.
 |
| Permission denied in Firefox |
|
After spending several days to find out about this problem, I learned that Firefox doesn't allow cross domain scripting. Because test.html in localhost and Pentaho server in localhost:8080, technically they are placed in different domain so that scripting between these two domain is forbidden.
Now what? Can we just use Chrome and only Chrome? Of course not! I can't just force my users using Chrome. Web application is designed for running in all browser, not only one specific browser! So the journey began. I spent several days more to find the solution for this problem in Pentaho forum, wiki, stackoverflow, blogs, and in many sites I have found in Google. But I found no answer. I found only the very same question! LOL!
In my journey, I found a blog that suggests to directly show output of the report in a specific format (html, pdf, xls, etc):
http://pentahoreportingandintegration.blogspot.com/2013/04/pentaho-report-integration-in-iframe.html
I appreciate this suggestion but I didn't want to use that because it will make me create a module to show and export reports. Moreover, it doesn't solve paging issue that we will encounter using its suggestion.
I also found that there is a technique to inject iframe to page using div and javascript so that cross domain script can be run. One of that technique is
EasyXDM. I tried that technique but... it didn't work for Pentaho Report Viewer. Yes, iframe has been injected to consumer div but the same problem still occured. I learned that Pentaho Report Viewer also uses iframe, maybe it's why easyXDM technique didn't work.
Finally, I read that cross domain scripting can be avoided by using proxy server or url rewrite. This technique is mapping another domain to same domain folder so that cross domain scripting can be converted to same domain scripting.
In Apache we can use mod_proxy, the detail can be read in
http://nukoagency.co.uk/2012/11/accessing-an-iframe-using-a-proxy-server/
(I haven't tried this so that I can't give any comment)
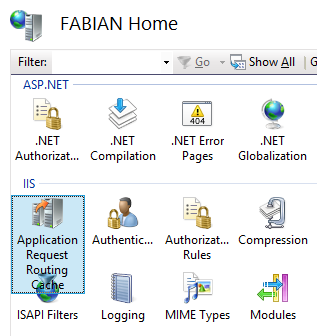
In IIS we can use 4 IIS Extensions mentioned in
http://blogs.iis.net/wonyoo/archive/2011/04/20/how-to-install-application-request-routing-arr-2-5-without-web-platform-installer-webpi.aspx
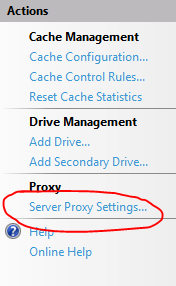
Then we enable Proxy Server in IIS explained in below pictures
2 final step to embed Pentaho Report Viewer:
1. Add rewrite rule in web.config.
 <?xml version="1.0" encoding="UTF-8"?>
 <configuration>
   <system.webServer>
     <rewrite>
       <rules>
         <rule name="pentaho" stopProcessing="true">
           <match url="^pentaho/(.*)" />
           <action type="Rewrite" url="http://localhost:8080/pentaho/{R:1}" />
         </rule>
       </rules>
     </rewrite>
   </system.webServer>
 </configuration>
2. Edit test.html so that iframe will load same domain URL.
 <html>
 Hello, this page is showing Pentaho Report Viewer
 <br/>
 <iframe width="1300" height="600"
      src="http://localhost/pentaho/content/reporting/reportviewer/report.html?solution=steel-wheels&path=%2Freports&name=Inventory.prpt&userid=joe&password=password" />
 </html>
The result is.... voila! Now Pentaho Report Viewer can be embedded in our web application AND can be opened in any browser. Life is good... :)
 |
| Pentaho Report Viewer in Firefox |
|
Finished? Not yet, because passing username and password without encryption is a bad thing. I want to implement Single Sign On (SSO) using CAS Server so that my web application and Pentaho will use same authentication. I will share the trick after I fix some problem I encountered with CAS ticket.
Thank you.